Controlling the order of flows in a scene
In a scene, you can add as many elements as you want and any element can trigger a flow. So, you can have several flows in a scene and the player will experience them in the order in which they interact with (click on) the corresponding triggers. You as the creator can control the order in which the flows can be triggered by controlling the initial state of the trigger elements.
Note: the automatic-trigger can only be added once per scene.
In this example of a scene with 3 elements and 3 flows, the player is free to click on any of the 3 elements in any order they choose.
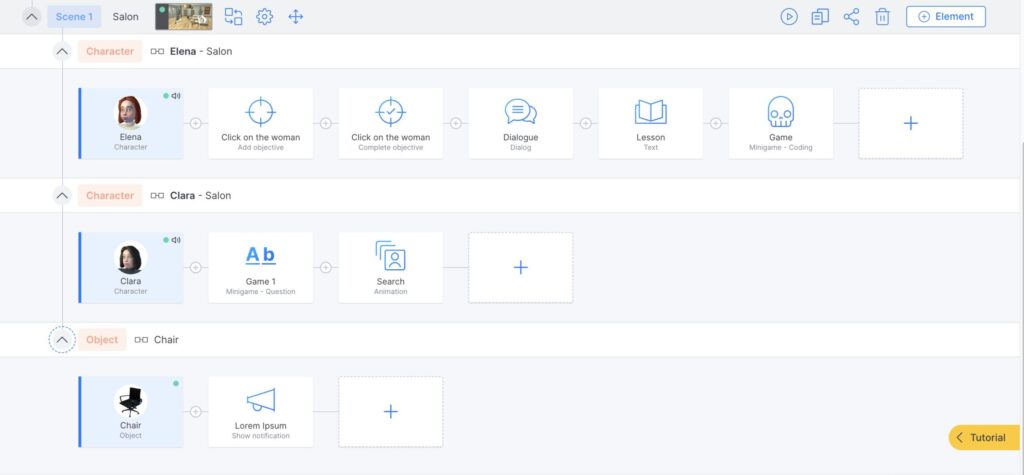
But, you may want the players to do them in a specific order. For example, the notification the player sees when they click on the burger might contain information necessary to make the correct decision in the flow that is triggered by clicking on Emily. So, we want the player to have to click on the burger before Emily.
You can do it by changing the initial state of elements and using the Activate and Deactivate building blocks.
Setting the initial state of elements
Changing the initial state of these elements allows you to choose which order the elements will appear in the scene or when they will be active i.e. the player will be able to click on them.
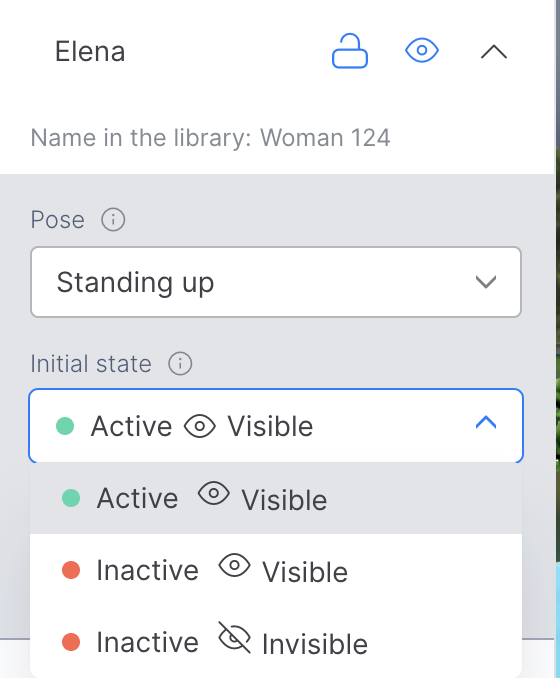
By default, the initial state of all elements is 🟢 active and 👁️ visible.
However, this initial state can be changed to 🔴 inactive and 👁️ visible or 🔴 inactive and 👁️ invisible.
Note: A clickable area can only be active or inactive—since it’s always invisible.
An auto-trigger’s initial state cannot be set—since it’s always launched at the beginning of the scene has no visibility.
- a clickable area can only be active or inactive—since it’s always invisible.
- an auto-trigger’s initial state cannot be set—since it’s always launched at the beginning of the scene has no visibility.
To change the state of an element:
- Click on the cog symbol on the element block
- Select in the dropdown menu the initial state you want
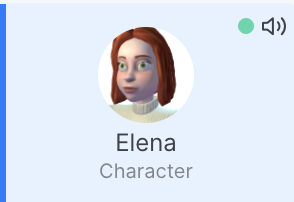
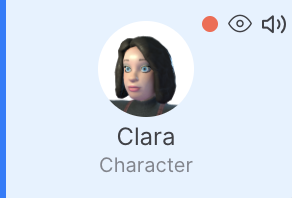
In the script tab, Active elements appear with a green dot, while Inactive and/or Invisible ones have a red dot.
Using the Activate and Deactivate building blocks
To change an element’s initial state, you use the “Activate” and “Deactivate” building blocks when necessary. Remember that the flows are a series of events that happen in order. We simply choose at which point, in which flow, we need an element to become active, and we place the Activate building block there. In the settings of the Activate block you simply specify which element or scene you are activating.
Examples
To use our example from above where we want to player to interact with the burger before they click on Emily, we simply do the following:
- Set the initial state of Emily to Inactive
- Add an Activate building block at the end of the flow of the burger and point it at Emily
This means that when we start this scene Emily is not active and therefore cannot be clicked on. When the player clicks on the burger they will see the notification and Emily will become active and therefore clickable.
Other Examples of use:
- If you want a character not to be present at the beginning of a scene but appear later, you can set their initial state to “inactive, invisible,” and later add the “Activate” building block to have them appear.
- If you want an item not to be collectible until the player completes certain actions in the game, you can set the initial state of, let’s say, a book to “inactive, visible” then, when you see fit, add an “Activate” building block which will allow the player to pick it up.