Guiding your player
Remember that the main focus of your game is to teach or communicate something. We want the players to focus on learning and practicing a new skill or knowledge, and so, we need to make sure they don’t get lost or frustrated along the way. To this end, it’s vitally important to communicate with your player and make sure they always know where to go and what to do next.
There are different tools in Editor that can be used to give instructions to the players:
- Using notifications to give instructions or context
- Using dialogs to have a character impart the instructions
- Using objectives via the “Add objective” and “Complete objective” blocks
Tip: Use the element “Auto-trigger” in your scenes to launch your instructions to your player. As the autotrigger will launch as soon as the scene begins your player can understand from the beginning what is the context of the game and what is expected from them.
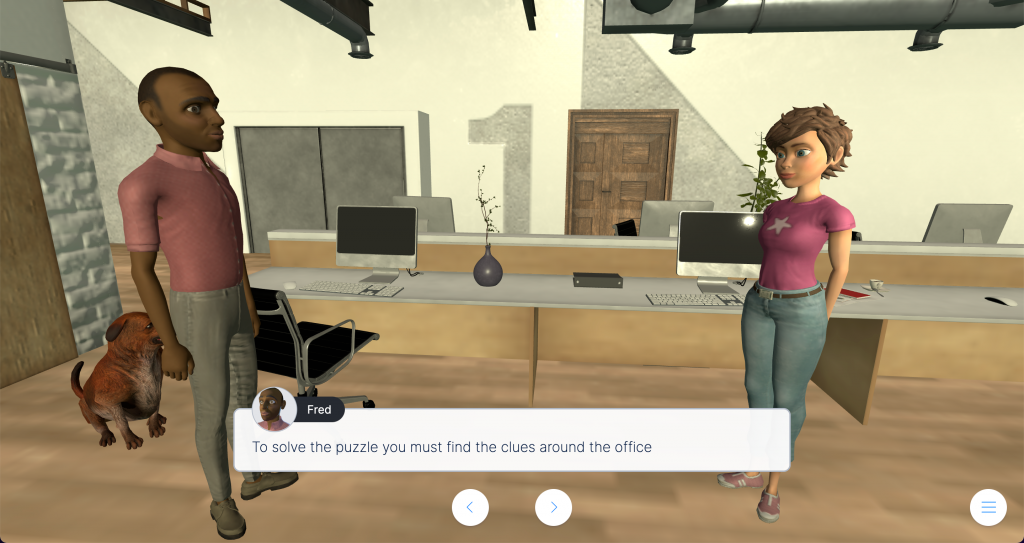
Dialogs
Your instructions to your player about what their mission is and what they need to be looking for or clicking on can be built into your story. Using the dialogs you can have a character explain to them what they have to do.
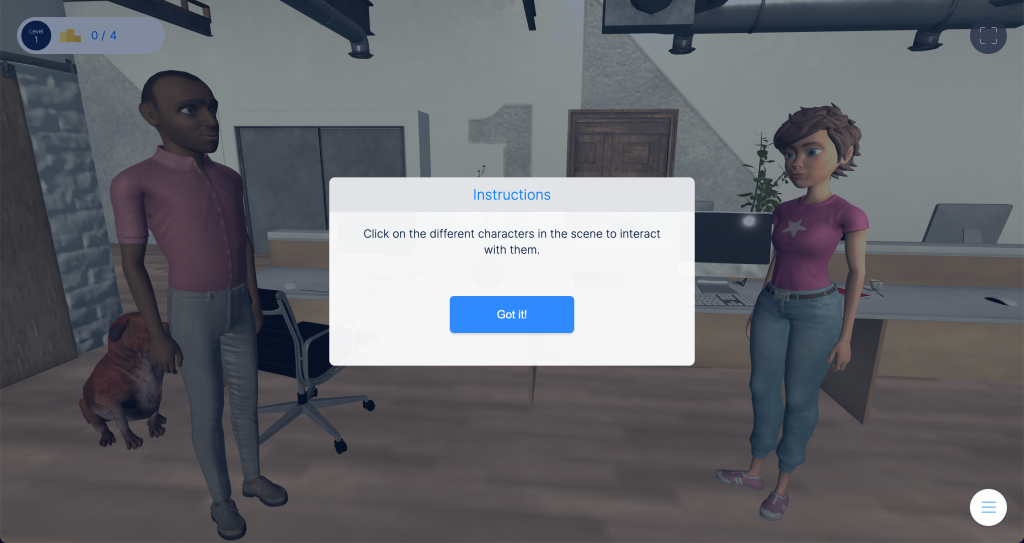
Notifications
The “Notification” building block is very useful to give a short piece of information to the player. It displays as a small pop-up in the center of the player’s view. It’s clear and obvious to read but be careful as once the player clicks the ”OK” button (or whatever text you’ve chosen for this button) it will disappear and will not be seen again by the player.
To give “sticky” instructions we need to use the Objectives
The “Add objective” and “Complete Objective” building blocks
These building blocks have been designed especially for the player to keep track of their “mission” in the game. We set an objective to display on the screen and it will remain visible at the bottom left corner until the player reaches the “Complete objective” block. Once the complete objective is reached it will animate on screen and the objective in question will disappear from the bottom corner.

Let’s look at an example to illustrate their use:
- In Scene X we meet a character who, through a dialog tells us to find the keys to the secret chamber.
- Immediately after this dialog box we add the “Add objective” block and call it “Find keys”
- Later, in a different scene, we open a clocker and find the keys.
- Clicking on the keys launches a flow comprised of the “pick up object” block and the “Complete objective” block.
Tip: Objectives can be carried across multiple scenes and even into the next level.
Tip: One “Add objective” can have one or many “Complete objective”s pointing to it. In this way you can have an objective like: “Find all the clues” and until each of the n complete objectives has been reached the objective will not ahow as completed.
Note: The player can have several objectives pending at the same time. If so they will appear with arrows to flick through them, left and right.
Be careful: If you don’t create a “Complete objective” building block for each “Add objective” building block, it may create errors in your game.

.