Credit-based plan
Credits-based plan and clients
We use credits to grant access to individual games in the catalog, rather than providing full access to the entire catalog (seats).
Credits are valid for 12 months (one year) from the date of purchase. Any credits that are not assigned within that period cannot be extended or refunded. Once assigned, your customer will have 12 months to use them. After that period, access will be blocked.
When you’re ready to deliver your games to players/students, you will create clients to manage this access.
*We will use “course” and “game” interchangeably throughout the article. Within the Admin, games are called “Courses.”
Buying credits
To buy credits, please get in touch directly with your Game Strategies Partner’s representative.
Assigning credits to a client
Prerequisites: Have the client created.
To distribute your purchased credits to client accounts:
- Go to “Clients” in the left menu.
- Click on the client you want to assign credits to.
If you don’t have the client created, click here to see how.
- Go to the Credits tab.
- Click on Assign credits.
- Choose the number of credits to assign to this client.
- You can include a reference and comments to identify this “sale” later.
You will then need to add students to a class for this client for them to receive access to the game.
Alternatively
- Go to “my account” from the menu at the top right.
- In the Account tab under “Admin credits” click on “Manage credits”
- Click on “Assign credits” at the top right.
- Select the client you would like to assign credits to and the number of credits to assign.
- You can include a reference and comments to identify this “sale” later.
Checking the status of your credits
To check the status of your credits, follow these steps:
- Click on “my account” from the menu at your account icon in the top right corner.
- Go to the “Account” tab. In the box on the right, you’ll see the total number of credits you have waiting to be assigned.
- Click on “Manage credits” to see the details of credits assigned to each client.
Checking the status of credits per client
To check the status of credits per client, follow these steps:
- Go to “Clients” on the left menu and select the client you wish to view.
- Go to the “Credits” tab. Here you’ll see the log of all credits assigned and used by this client.
| Remember that credits are assigned to users at the time of enrollment and are considered consumed once the user has started playing. |
Checking credits per user for each game
To see how many credits will be applied per user for a specific game, follow these steps:
- In the left-hand menu, select “Courses”.
- Find the course card for the game you want to check. On the card, you will see the number of credits that will be consumed per user.
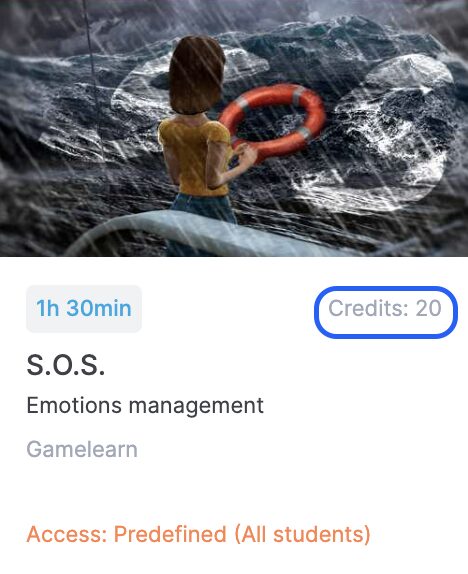
Important: the number of credits may vary depending on the game selected (from 20 to 52 credits).