Managing clients
Creating a client
You can manage all your clients and learners from the same place with the Admin. Each client can be configured with their own settings for notifications and access to the games you create.
To create a new client follow these steps:
- Go to “Clients” on the left menu.
- Click on “Create client”.

- Give your client a name. This name will be visible in communications with the users.
- Give the client an alias for internal reference. This alias is not visible to end users.
- Choose the country and timezone for this client and optionally add VAT of Tax identification number.
- If this client’s learners will be accessing games via SCORM, check the box.
Be careful: this setting cannot be changed once a student has accessed it.
7. Click save.
Video – Creating clients
Setting visibility of games for each client
Set up access to the Campus catalog courses
To configure access to courses in the client’s Campus catalog, follow these steps:
1. Go to “Clients” on the left menu and choose the client you want.
2. Go to the “Courses” section, and on the game you want to set, click on “View/Edit”.
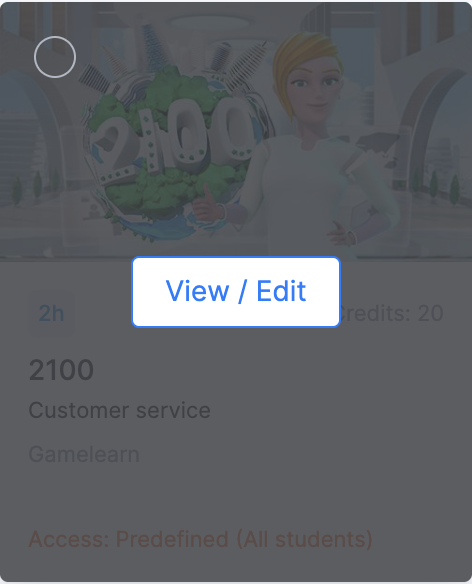
3. Under “Who can access the course” you can choose between the following options:
- Predefined [Access type that you have set as the default]
- All students: Open access to this game on the campus
- Only classes: Only students enrolled in a class will be able to see and play this game
- Nobody: Course not visible
- Save changes.
Keep in mind that you can also select some or all of the courses by hovering over one of the course cards to change the visibility of multiple courses at once.
Set up access to courses created in Editor
To configure a course you created so that it appears in a client’s Campus, follow these steps:
- First, set the game visible to that client by publishing it to their account.
- Then, choose the game’s visibility for the students within that client by following the steps described in the previous section.
To configure a course you created so that it appears in a client’s Campus, follow these steps:
- Go to “Campus” from the left menu and click on “Courses”. Here you will see all published games.
- On the game you want to give access to click on “View/Edit”.
- Under “Clients with access” you can then choose from the following options:
- All: All your clients Campus will have access to this game
- Only for..: You select the specific clients to give access to
- All except: You select the specific clients NOT to have access
- Only [account name] (owner): Only your owner account has access
- Save changes.
Tip: You can use your owner account for internal use or for testing purposes.
Managing users
To add administrators to your clients’ accounts, follow these steps:
- Click on the ‘Clients’ tab on the left-hand side of your screen.
- Access the appropriate customer.
- Click on ‘Administrators’.
- Click the blue ‘Add administrator’ button.
- Fill in the details (email address, name, language, etc.) and select the customer you wish to link it to.
- Select the role you want from those available.
- Click on ‘Save’.
For more information on the available roles or how to add users to your account, see this article.